403 Forbidden
ERR_WEB_NGX_403
Rated EXCELLENT on
![]()
Platinum Trusted Service, based on over 42,000 reviews.
Building a raised pond is a simple and fast way to add a beautiful water feature to your outdoor space, with no digging required!
In this guide, we’ll walk you through choosing the best materials, selecting the right equipment, and building your own pond with step-by-step instructions.
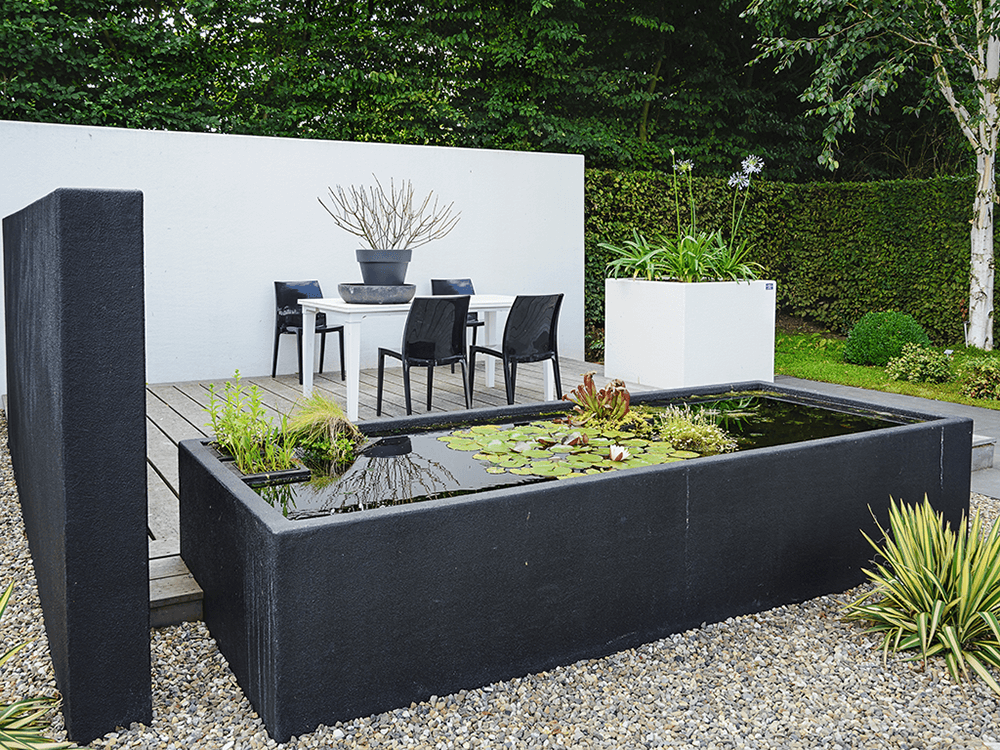
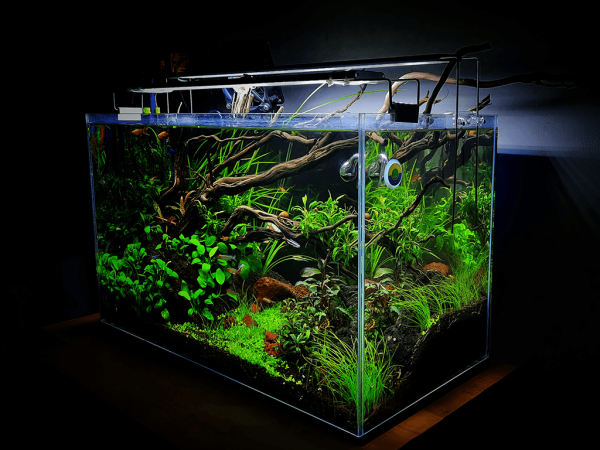
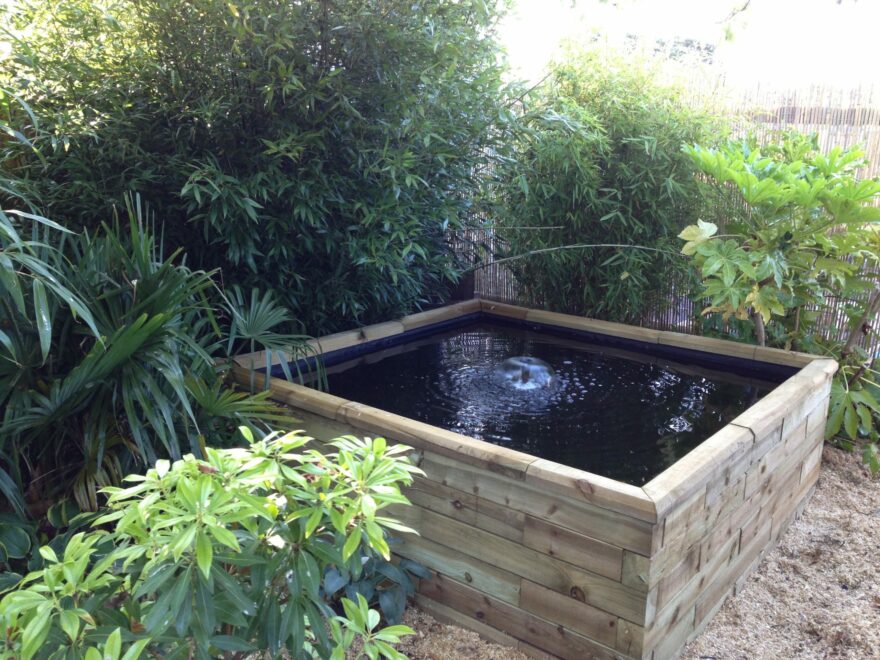
Elevated ponds are perfect for gardens where an in-ground pond isn't practical. They sit above the surface in a contained structure, making them far safer for households with pets and children, and much easier to access year round for feeding and maintenance. These ponds also enhance your outdoor space, creating a beautiful feature. Are you renting your house or considering moving? No problem! You can build your raised pond to allow for easy disassembly, allowing you to take it with you if you move. Raised ponds provide a flexible solution that can be installed in a weekend and can be customised to suit any space, even on a patio!

There are many ways to build your pond, depending on your budget, available time and tools, and the desired appearance.
No matter which material you choose, make sure that your structure is strong enough to handle the weight and pressure of the water without bowing. Use wood panels that are at least 2 inches in size, and any repurposed structures need to be checked for any damages that could weaken with water pressure.

| Material | Benefits | Best suited for | Difficulty Level |
| Pre-formed ponds | Fast and purpose built | Rented homes | Very easy |
| Repurposed containers | Cheap and eco-friendly | Small wildlife ponds | Easy |
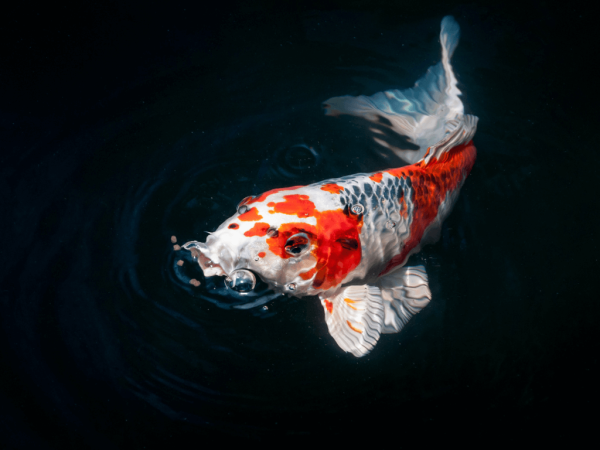
| Timber sleepers | Rustic look | Medium patio ponds | Moderate |
| Bricks or concrete blocks | Durable and permanent | Large Koi ponds | Advanced |
Before starting your project, it's worth considering location. A raised pond needs a level surface and to be located in reach of an outdoor power supply for your outdoor equipment. You may want to position near your house, allowing for viewing from indoors year round. It is recommended to avoid full sun all day, preventing excess algae growth. Make sure to clear the area of debris and sharp objects that could damage the liner.
To work out how much liner you need, you can use this formula:
Liner Length = Pond Length + (2 x Depth) + Overhang
Liner Width = Pond Width + (2 x Depth) + Overhang
For example, if your pond is 6ft x 6ft x 2ft deep, and you want a 1ft overhang on each side, you will need a liner that is 12ft x 12ft. For a quick answer, try our calculator.
Once you have chosen the liner, lay it over the underlay and start to fill the pond with water. As it fills, gently adjust the liner, removing wrinkles, and create neat folds in all corners. When your pond is full, use a final layer of sleepers or timber to clamp the liner in place, trimming off the excess material outside for a tidy finish.

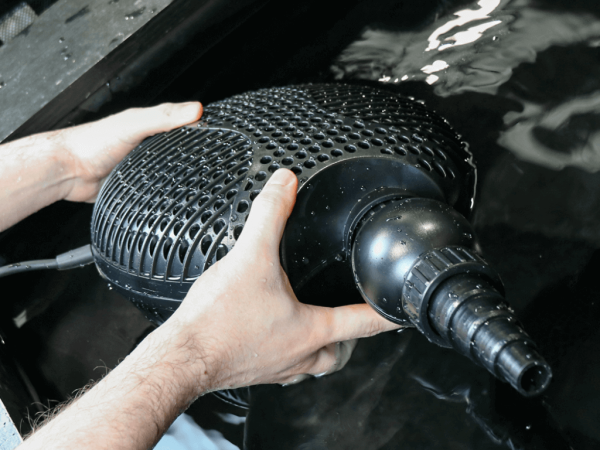
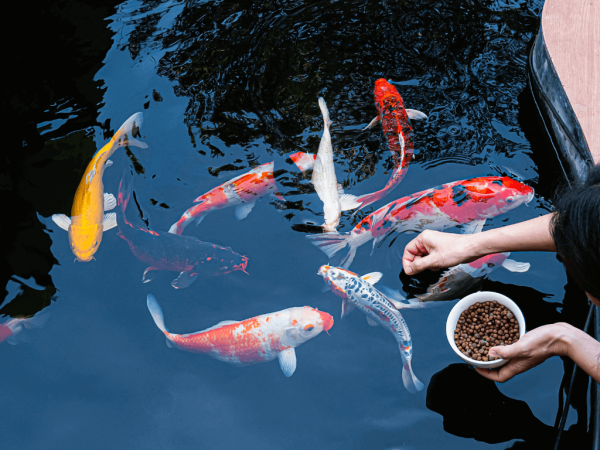
If you're planning to stock your pond with fish, you'll need a filter and pump to maintain good quality water. For smaller ponds (under 1000L) a compact all-in-one pump is the perfect choice. Typically including a pump, filter, and UV clarifier in one discreet, easy to install unit, these pumps are a practical choice for elevated ponds, often coming with the added bonus of a built-in fountain.
Larger ponds will benefit from the use of a pressurised filter with a built-in UV clarifier. These systems can be placed out of sight, even buried up to the lid, and provide a high filtration capacity. Many models even feature an easy-clean system, making maintenance simple.
You may consider an energy-efficient pump, for low cost year-round filtration. Whichever pump you choose, you need to match the flow rate of your filter, making sure you provide smooth water movement without overloading the system.

Raised ponds are easiest to access, making maintenance far less laborious and quicker. Regular maintenance includes cleaning filter sponges, and inspecting your equipment. During the colder months, you may need to consider removing the pump if temperatures drop below freezing, or insulate external pipework and filters (with caution).
Regular water testing is an essential to keeping the best quality water, especially in heavily stocked or new ponds. Common issues such as algae blooms, ammonia build-up, or cloudy water can be prevented with regular tests.

Building your own pond is a rewarding project that can transform your garden into a relaxing and wildlife-friendly space. With the right materials, planning, and essential equipment, you can create a transportable and long-lasting feature that is easy to care for year round.