403 Forbidden
ERR_WEB_NGX_403
Rated EXCELLENT on
![]()
Platinum Trusted Service, based on over 42,000 reviews.
Fitting a new pond liner correctly is important for long-lasting success, but it doesn’t have to be difficult.
Provided you follow these simple steps, you should have one fitted in no time!

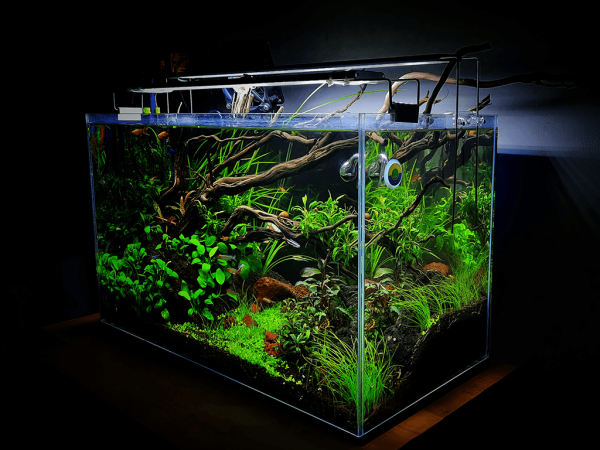
Whether you're building a new pond, or refurbishing an existing one, fitting a liner is the most important first step. When installed correctly, it will form a watertight base that can last for years. In this guide, we will cover how to install a liner, from ground preparation to neatly securing the edges, in five beginner friendly steps.
To begin, you will need to clear the hole for the water. Make sure to remove all sharp objects, such as stones, glass, and other debris to prevent punctures. Rake the bottom and sides of the excavated area to smooth out the surface. Be sure to fill any uneven spots or holes with soft builder's sand to create a smooth and uniform shape. Once the base is entirely free from debris and even, you may move on to the next step.
Tip: If you're building near hedges or plants, consider relocating them, especially if they grow fast. Roots can grow aggressively and damage the structure from below.
Laying underlay is a crucial step of any successful set up. It helps to form a cushioning layer between the ground and the liner, protecting it from punctures and wear that could potentially drain the water.
Lay the underlay by following these steps:
It's not necessary to get a 'perfect fit', just make sure that the entire base and sides are covered with overlap on the edges. Temporarily secure these edges using stones or bricks, whatever you have to hand.
Tip: Looking for the right protective underlay? Shop our range here.
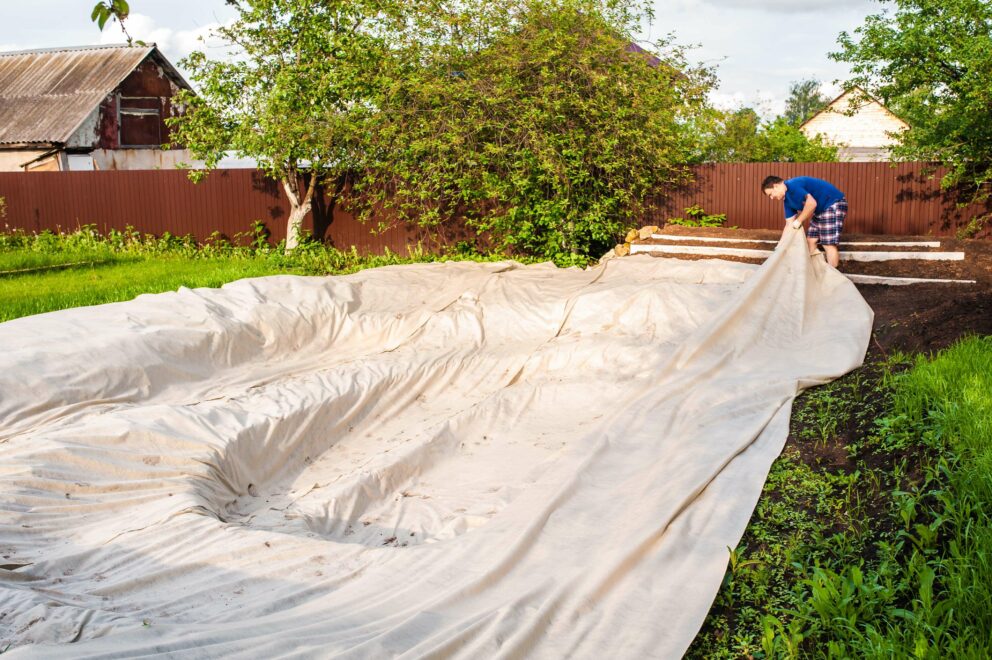
If possible, choose a warm and sunny day to line your pond. Warmer temperatures aid in making the material far more pliable and easier to fit.
Position your pond liner by following these steps:
Tip: Avoid dragging it, make sure to lift and place to prevent abrasion.

Use a garden hose to add a small amount of water, just enough to weigh down the liner. As you continue to fill your pond, adjust the fit by doing the following:
Tip: Avoid rushing this step. Getting the right fit early on is easier than fixing it later, and makes the rest of the job much simpler.

Once you're happy with the fit and the pond is filled to around 5-10cm from the top, you can trim the edges using sharp scissors or a utility knife. Make sure to leave a minimum of 30cm overlap so you can secure the edges with rocks, paving, or purpose-made edging.
Tip: Blending your pond naturally into its surroundings makes for a well-finished look.

If you're installing a raised or framed pond, the process is mostly the same. The only major difference is the corners and edges. You can use strong clips or wooden battens to hold the liner in place around the top frame, trimming underneath for a clean finish.
If you want to learn more about building a raised pond, check out our helpful guide here.
Sometimes, accidents can happen, but fortunately a rip or puncture doesn't necessarily mean starting over. Most liners can be patched using repair tape and an offcut.
Following these steps, you'll have your liner patched up and functional again:
If you've accidently damaged your liner, check out our repair kits here.
If you're stuck selecting a size, use our handy Calculator. This calculator is perfect for quickly working out the required size of your liner and underlay.
Installing your liner may seem daunting at first, but with the right preparation, tools, and sometimes a helping hand, you'll be ready to go in no time. Make sure to protect your liner with high quality underlay, take your time to complete each step, and fill with water carefully, and you'll have a leak free base that will last for years to come.